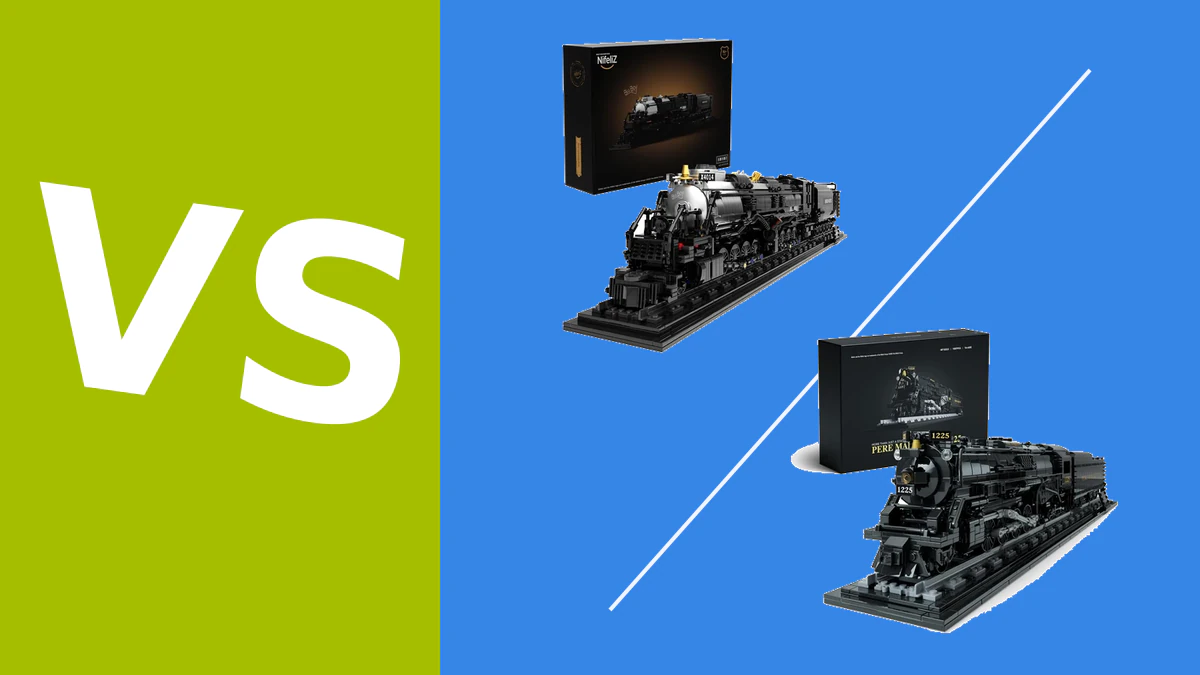
Most Lego® models do not need glue. The clutch between the bricks is part of what makes them easy to rebuild, repair and reuse. Gluing also lowers the value of many sets to collectors and can permanently mark or deform parts.
The LEGO Group does not endorse the third-party adhesives in this guide, and their appearance here does not imply an affiliation. If a display really must withstand repeated transport or handling, decide first whether you need a temporary bond or are willing to make an irreversible change. Cleaning the pieces gently before assembly can help; see our guide to cleaning Lego bricks.
Two adhesives to consider
The two exact US listings below were checked on Amazon.com on August 18, 2026. Both showed an active Add to Cart and Buy Now path at that time. Availability, price and seller can change, so treat that check as a snapshot rather than a guarantee. Neither product is made or endorsed by the LEGO Group.
1. Le Glue Temporary Glue 3 Pack
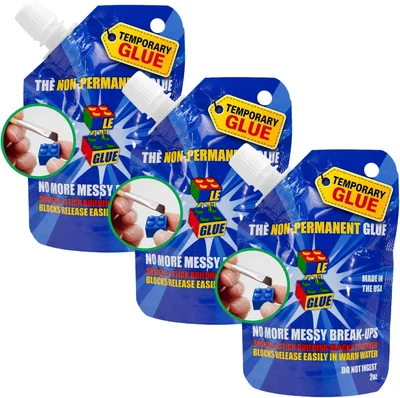
- Type: Temporary, water-releasable brick adhesive
- Listing status at check: In stock
- View here on Amazon
The product listing describes Le Glue as a clear, non-permanent adhesive made for plastic building blocks and says bonded blocks can be released in warm water. That makes it the better of these two choices when a display needs extra stability but may eventually be rebuilt.
Follow the current package instructions rather than relying on a remembered ratio or timing. The listing says to use a small amount and allow a full cure before handling. Test the complete apply-and-release process on spare bricks first, especially if the model contains stickers, prints or mixed materials.
2. J-B Weld PlasticBonder 50133
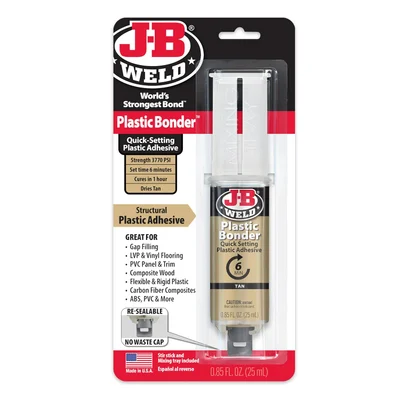
- Type: Permanent two-part urethane adhesive
- Color stated by the listing: Tan when cured
- Listing status at check: In stock
- View here on Amazon
The listing describes PlasticBonder as a two-part adhesive for many plastic surfaces, including thermoplastics. It is a permanent repair product, not a reversible brick glue, and its tan cured color can remain visible. Consider it only for a model where a lasting bond is more important than appearance, resale value or future rebuilding.
The syringe dispenses two components that must be mixed and used according to the manufacturer's directions. Compatibility with “plastic” in general is not enough to guarantee a clean result on every Lego element, so testing on an expendable matching piece is essential.
Should you use temporary or permanent glue?
A temporary brick adhesive is the more forgiving choice for a model that may be dismantled later. It can add resistance to knocks while keeping open the possibility of rebuilding. The release method still matters: use only the method stated by the adhesive manufacturer, and test it on spare bricks before treating a complete model.
A permanent adhesive is a different commitment. It may be reasonable for a dedicated exhibition model, a commercial display or a custom build that is transported often, but it can damage the finish and make future repairs difficult. Do not use a permanent product on valuable, printed, transparent or irreplaceable elements without accepting that they may be lost.
For either route, test a small amount on a spare brick or a hidden area made from the same type and color of plastic. Plastics, coatings and printed details do not all react in the same way.
Safety checklist before gluing
Adhesives should be treated as workshop products, even when a listing describes a formula as non-toxic.
- Read the current label, safety warnings and manufacturer instructions before opening the product.
- Work in a well-ventilated area and keep food and drinks away from the workspace.
- Use the personal protective equipment specified by the manufacturer. Gloves and eye protection may be appropriate, but the product label takes priority.
- Keep adhesives away from children and pets. An adult should control the product and the work area.
- Avoid skin and eye contact, and do not inhale vapors. Follow the label's first-aid directions if exposure occurs.
- Do not combine adhesives or add thinners or other chemicals.
- Protect the table and keep a separate spare brick ready for the compatibility test.
Gluing small parts is not a substitute for choosing an age-appropriate set or supervising a child. A bonded element can still break, and a loose piece can remain a choking hazard.
How to glue a display model carefully
1. Decide which connections actually need support
Do not coat an entire set by default. Identify the joints that come apart during transport or handling. Using less adhesive limits visible residue and leaves more of the model repairable.
2. Clean and dry the parts
Remove loose dust with a soft brush. If the pieces need washing, use a plastic-safe method and let them dry completely before applying adhesive. Moisture, dust and skin oils can affect the bond.
3. Test on a spare or hidden brick
Use the same adhesive, amount, curing time and removal method you plan to use on the model. Check the surface after the full test for clouding, staining, softening, loss of gloss or unwanted color change. Stop if the result is not acceptable.
4. Prepare the work area
Ventilate the room, cover the work surface and put on the protective equipment required by the label. Arrange the pieces before opening the adhesive so you do not have to rush once it has been applied.
5. Apply the minimum practical amount
Follow the product instructions exactly. Keep glue away from printed areas, stickers, hinges, axles and other moving parts. If a product requires mixing, use the stated proportions and working time; do not improvise.
6. Join and support the pieces
Align the bricks carefully and hold or support them for the time specified by the manufacturer. Do not repeatedly move the joint while it sets. Wipe uncured excess only by the method allowed on the product label and only if doing so will not spread it across the brick.
7. Allow the full cure time
“Set” and “fully cured” are not necessarily the same. Leave the model undisturbed for the complete curing period stated on the packaging before moving, loading or displaying it.
Removing or repairing glued bricks
Start by identifying the adhesive. For a temporary product such as Le Glue, follow its current release instructions and test the process on spare bricks. Do not use hotter water than the manufacturer permits, particularly around stickers, electronics or temperature-sensitive components.
A cured permanent adhesive may not come apart without damaging the bricks. Do not force the joint or scrape toward your hand. Instead, check the adhesive manufacturer's removal guidance and decide whether sacrificing the bonded pieces is safer than trying to separate them. If the model is valuable or the product is unknown, consult the adhesive maker or an experienced conservator.
When gluing can make sense
Frequently transported MOCs
Large Lego MOCs may have fragile decorative sections that loosen during travel. A temporary adhesive on a few tested connections can offer a compromise between transport stability and rebuildability. A modular transport box and better internal supports should still be considered before glue.
Long-term public displays
A model in a shop, exhibition or other controlled display may be handled or moved more often than a home build. Permanent bonding can be considered when the owner accepts that parts may not be reusable. Document which adhesive was used so that future repairs are not guesswork.
Home display models
For a shelf model, a sturdy base, enclosed display case and careful positioning are usually better first steps. These protect against dust and knocks without changing the bricks. Glue should be a last resort, not routine preparation for display.
Conclusion
Choose a temporary brick adhesive if rebuilding remains important, and reserve permanent adhesive for a display where irreversible changes are acceptable. In both cases, the safest process is conservative: read the manufacturer instructions, ventilate the area, use the required protective equipment, test on spare or hidden bricks and apply as little as practical.
No third-party glue is an official LEGO recommendation. If the model stays together under normal use, leaving it unglued preserves what the system does best: coming apart and becoming something new.
FAQ: Gluing Lego® bricks
Does the LEGO Group recommend gluing sets?
No endorsement should be inferred. The products in this guide are third-party adhesives, and most models are better left unglued so they can be rebuilt and repaired.
Is temporary glue completely risk-free?
No. A releasable product can still leave residue or affect finishes, stickers and mixed materials. Test both bonding and removal on expendable matching pieces first.
Can permanent glue be removed from Lego bricks?
Sometimes a manufacturer provides a removal procedure, but cured permanent adhesive may make clean separation impossible. Do not pry aggressively or improvise a removal method; follow the product guidance and be prepared to replace the bonded pieces.
What matters most when choosing an adhesive?
Whether the bond must be reversible, compatibility with the exact material, cured color, working and cure times, ventilation requirements, protective equipment and the manufacturer's application and removal instructions.
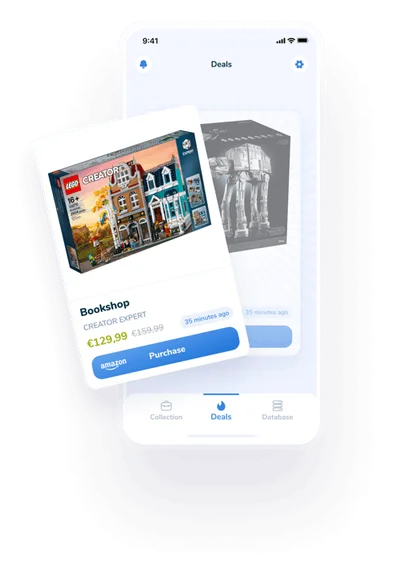
Want to buy Lego sets at a bargain price? In the Brickfact price comparison you can compare sellers and set a price alert. The Brickfact app is free for iOS and Android.